- Make sure the USB cable from the turntable/cassette deck is plugged into a USB port on the Mac.
- Power on the turntable/cassette deck.
- Open Audio Hijack.
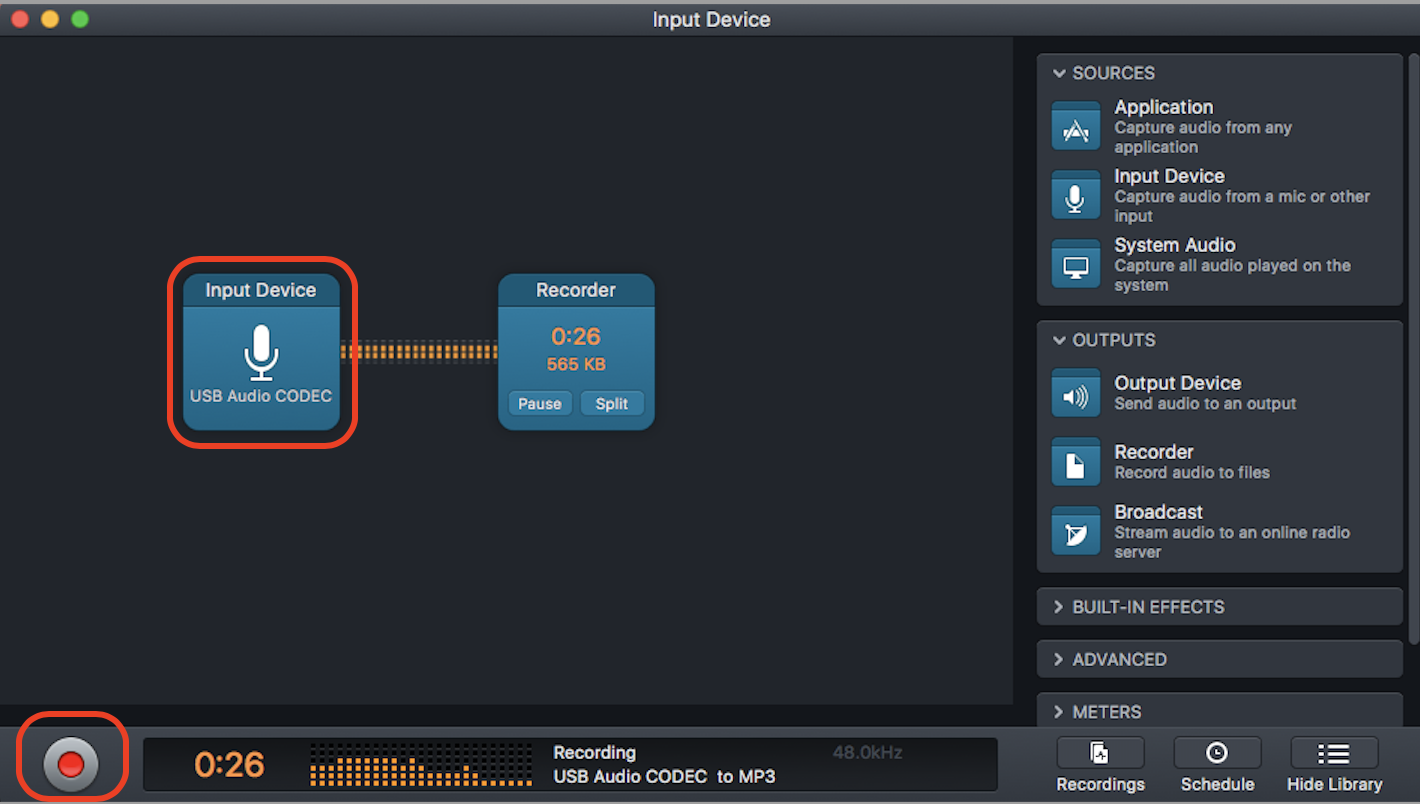
- Click New Session, then Input Device, then Choose.
- Press Input Device and switch it to USB Audio CODEC.
- Click Record, then press play on the turntable or cassette deck. Your audio is now recording.
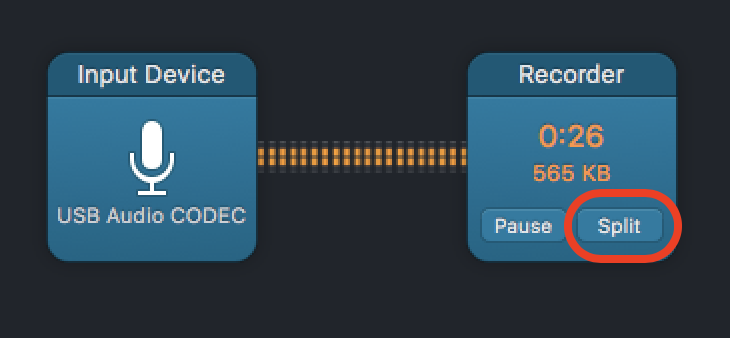
- Click Split after each song to separate them into individual files.
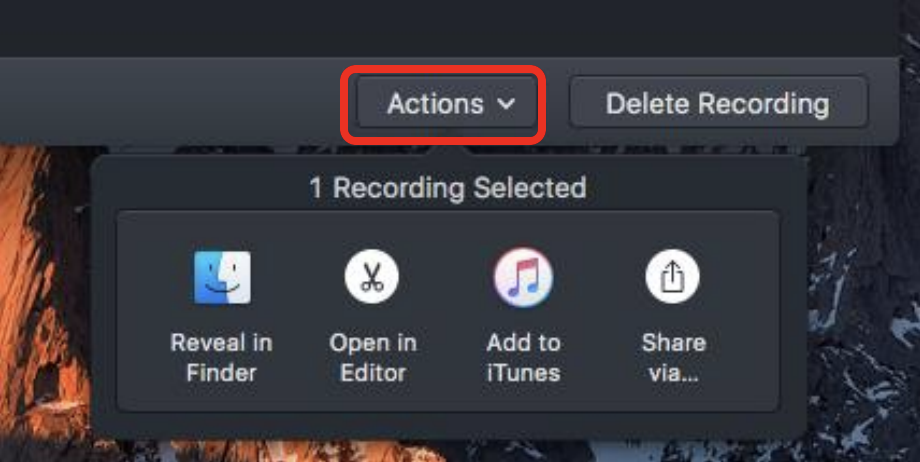
- Click Record again to stop. Once you’ve clicked stop, the files will appear in the Recordings menu. Click Actions to find the files in Finder, edit them, or share them online.
For additional information, visit our instruction video Intro to the Digital Media Lab: Converting Records and Cassettes to Digital.
Converting to CD
- Place your record on the turntable or your cassette into the tape slot.
- Press Open/Close to open the CD tray.
- Load the disc in and press Open/Close again to close the tray.
- Wait for the disk to load. When it’s ready, the screen will read “NO TOC CD-R.”
- Press Phono/Tape/Aux to cycle to Phono for records or Tape for cassettes.
- Press Manual/Auto Rec until two dashes appear - -.
- Press Record to initialize record mode.
- For records, unhinge the needle arm guard and slowly place the needle on the record. Immediately press Play/Pause on the front panel to begin the recording.
For tapes, press Play on the tape deck, then press Play/Pause immediately to begin recording. (The recording won’t start if the cassette tape is stopped, make sure it’s playing first)
The timer on the screen should begin to count. If you do not see the timer counting, the recording has not begun. The recording button will also blink while a recording is in progress.
- You can adjust the volume of the recording with the Rec. Level dial on the left side. You can adjust your playback volume with the Volume dial on the right side.
- Press Track Increment during the silence between songs to split the tracks. If you don’t do this, the CD will end up as one long track. Each time you press Track Increment, the track number should increase, and the timer should start over. Tracks can’t be smaller than 10 seconds, and you can only have up to 99 total tracks.
- Hit Play/Pause on the front panel if you need to pause the recording. Hit Play/Pause to resume.
- When finished, press Stop on the front panel.
- To finalize the disc, press CD.
- Press Finalize/Erase.
- Press Enter/Memory.
- Wait for the disc to finalize. A timer will indicate how much time is left.
- Eject your disc and remove your record or tape.


